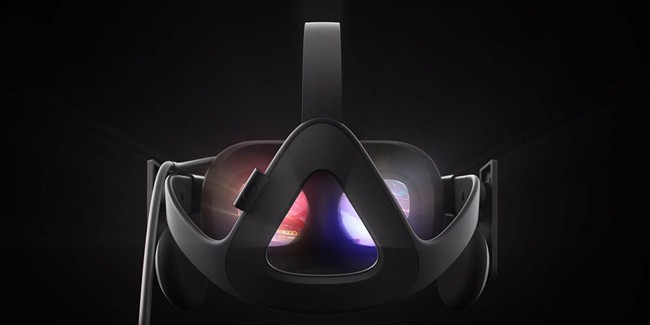
Increase Your Oculus Rift Image Resolution with the Oculus Debug Tool
If you’re looking to get an extra boost in image quality playing games using the Oculus Rift, then the Oculus Debug Tool could be your option to tap into that increased fidelity—just as long as you have a GPU powerful enough to handle the performance.
Many in the VR community are already reporting positive results after utilizing the Oculus Debug Tool and adjusting the values in the ‘Pixels Per-Display Pixel Override’ function to render a better image quality to the Oculus Rift. Over at Road to VR, Paul James shared his experience of using the debug tool to incrementally increase the pixel density just enough to maintain a stable frame rate with impressive results on one of their custom PC’s, powered by an Nvidia Geforce GTX 980ti.
“We tested Edge of Nowhere with our Road to VR Exemplar gaming PC, which packs a Nvidia Geforce GTX 980ti, and managed to push a pixel density of 1.8 before frame rate became an issue and it was obvious Asynchronous Time Warp was working beyond its limits (jerky animation and skipped frames). The resulting difference in image is obvious however, with subtle texturing and shader effects revealed and far less distracting image artifacts on distant objects – it looked closer to how you imagine the artists envisaged it.”
Of course, with the use of an even higher-end GPU like the GTX 1080 and soon to be released GTX 1070, it should definitely help achieve better performance when set to its maximum ‘Pixels Per-Display Pixel Override’ level of 2.0—essentially multiplying 4x the amount of pixels your PC rig renders.
Here are the steps necessary to run the Oculus Debut Tool to enhance image quality:
- Download and install the latest Oculus SDK
- Launch Oculus Home
- Now, open the Oculus Debug Tool
- Set the ‘Pixels Per-Display Pixel Override’ option to a value between 1.0 to 2.0. (this will vary depending on how much your GPU can handle)
- Finally, pick a game from within Oculus Home and enjoy the increased detail in resolution!
For best results, it’s important to follow the steps above in sequence order to avoid any issues with stuttering or lag. However, keep in mind this process of bumping up the resolution is a bit of trial and error, so you’ll need to experiment and adjust the setting values that work best for your system to maintain stable performance.
Once you see the noticeable increase in resolution it’s almost like you’re getting a small glimpse into what the ‘Oculus Rift CV2’ could be like. While we are still a long way before that happens, this temporary workaround seems pretty useful and worth a try.

